

Nondestructive inspection of hardness and residual stress depth profiles - hardness and residual stresses in different measuring depths – without destroying the specimen, only takes less than a minute measuring time.
Inquiry Online Sales Manager: Mr Li
In a car or truck valve springs are exposed to extreme conditions. Therefore, the requirements concerning the properties of the valve springs are challenging: both, the power tolerances as well as the relaxation tendency must be extremely low, and the fatigue strength should be sufficiently high.
In order to achieve and to ensure the best possible material properties and processing quality, in addition to modern manufacturing technologies the use of in-process quality assurance methods is crucial.
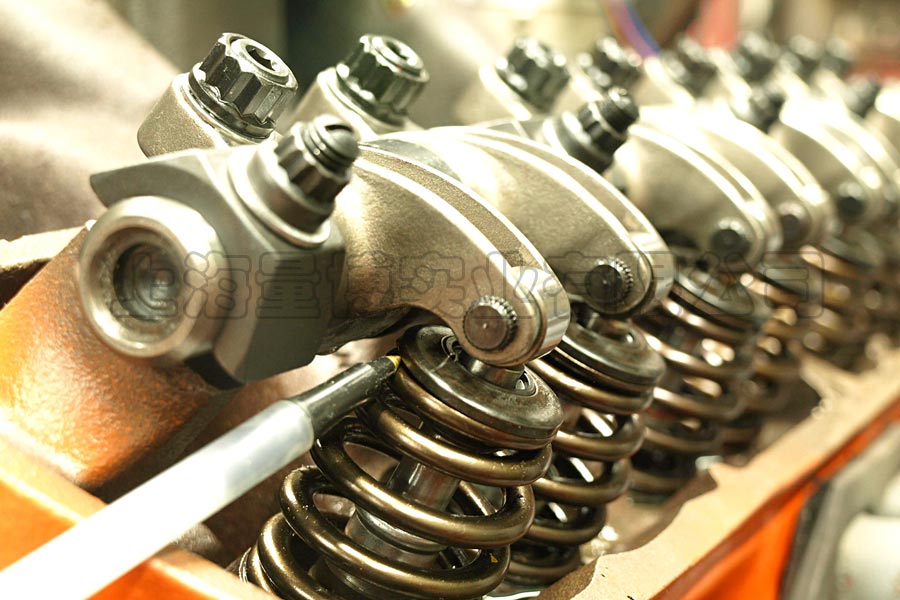
Spring Valves for example
To assess the production quality, the mechanical and technological characteristics of the components must be randomly tested. To do so, depth profiles of hardness and residual stresses of a spring are sampled in regular intervals on the inner surface of the spring. In case of destructive, viz. conventional metallographic and X-ray methods, this examination is highly time-consuming and expensive, thus impeding the increase of productivity and economic feasibility.
The aforementioned destructive testing methods can be superseded by a fast and cost-efficient nondestructive testing prodedure, the “3MA“ technique (3MA – “micromagnetic multiparameter analysis of microstructure and stress“). As a combination of hardware and mature process engineering 3MA testing technology comprises four micromagnetic testing methods: multi-frequency eddy current, analysis of upper harmonics, incremental permeability, Barkhausen noise.
|
|
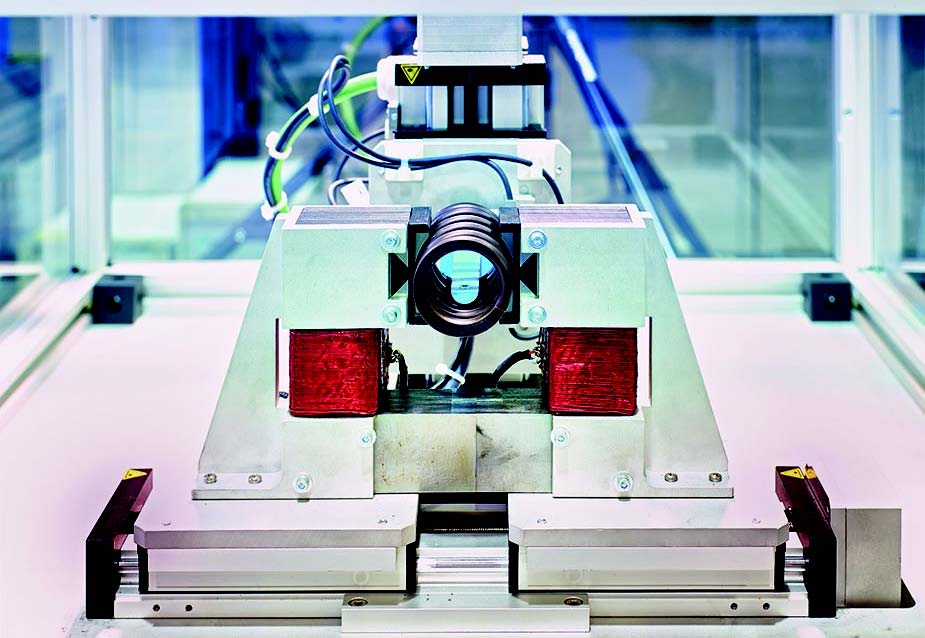
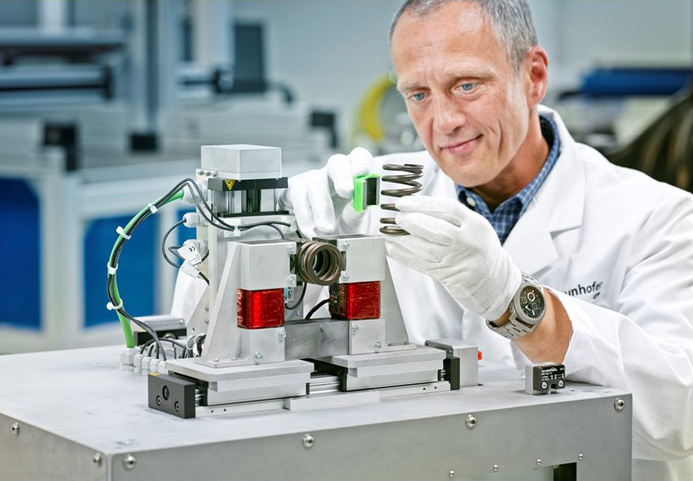
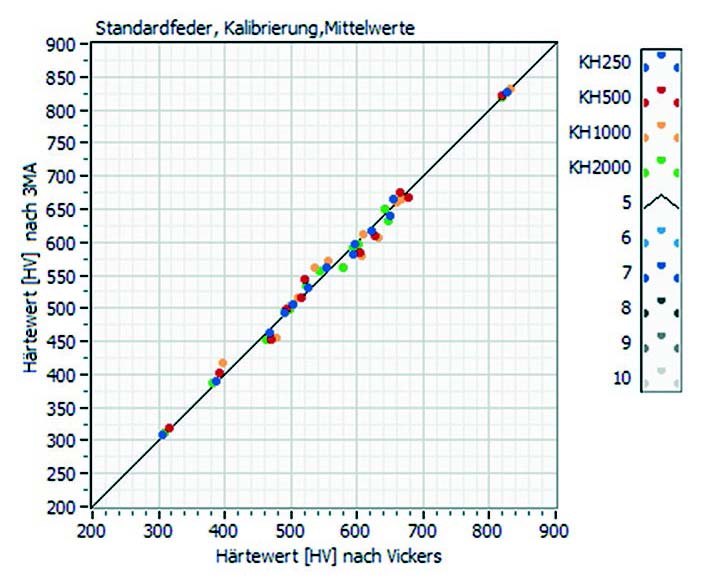
The Hardness & Residual Stress Depth Profiles NDE Scanner allows the concurrent determination of various relevant quality characteristics of a material – e. g. hardness and residual stresses in different measuring depths – without destroying the specimen. The valve spring is inserted into the test system, then the test process is fully automatic.
|
|
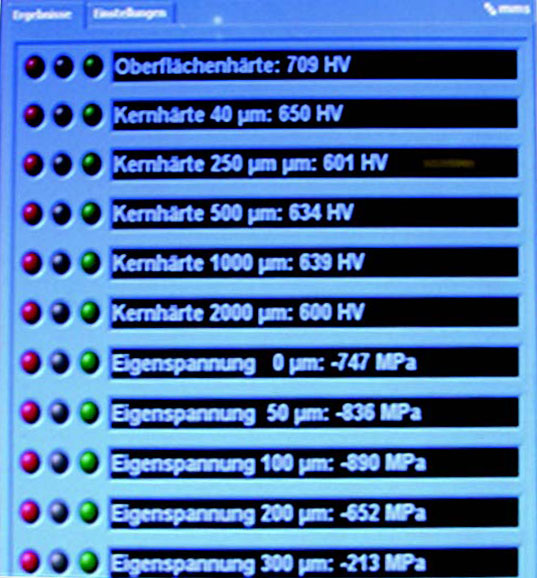
Result of hardness test by Scanner in comparison to conventional inspection for measuring depths from 250 to 2000 μm
The valve spring is gradually rotated while its inner surface is scanned by sensors. At each test position seven nodes of the hardness profile and six nodes of the residual stress profile are determined locally resolved. The scanning of a spring coil takes less than a minute measuring time. A similar destructive test would take several hours.
If you want to know more details or you have further questions, please contact LAB Gages directly.
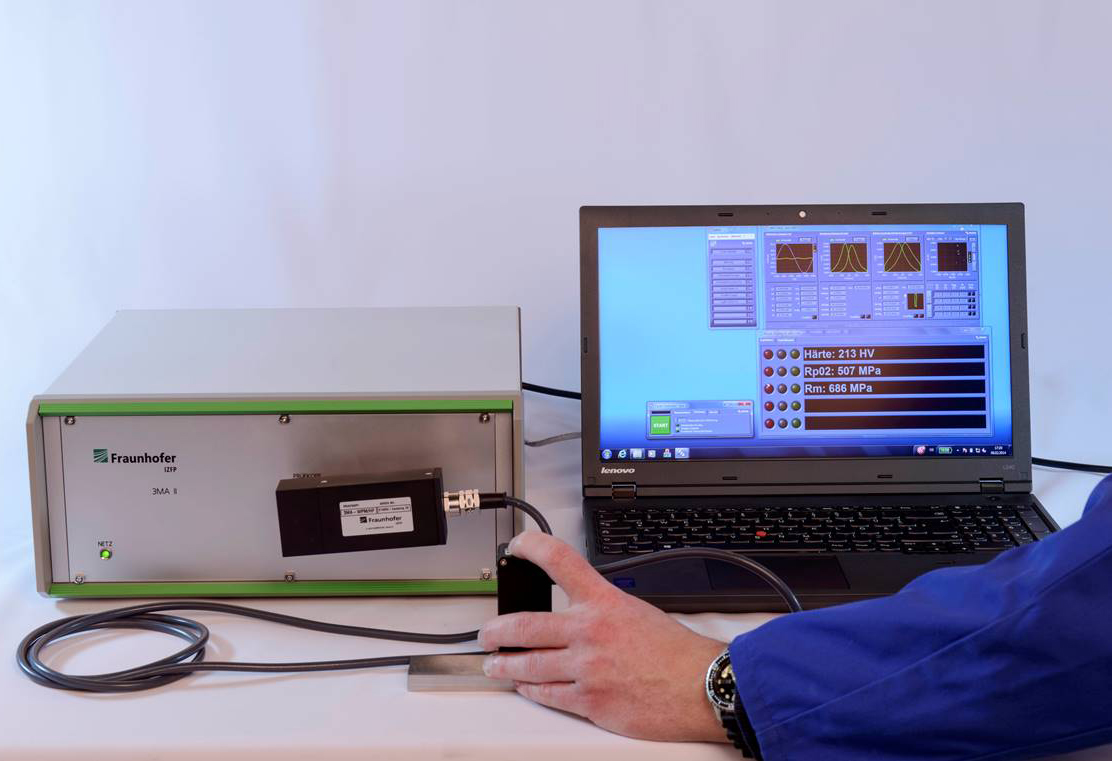 3MA THD Multi-Function Measuring Instrument
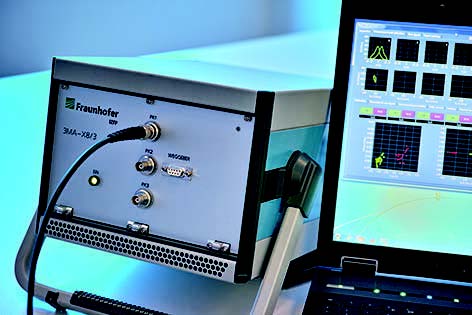 3MA-X8 System for Fast Materials Characterization
 Hardness & Residual Stress Depth Profiles NDE Scanner
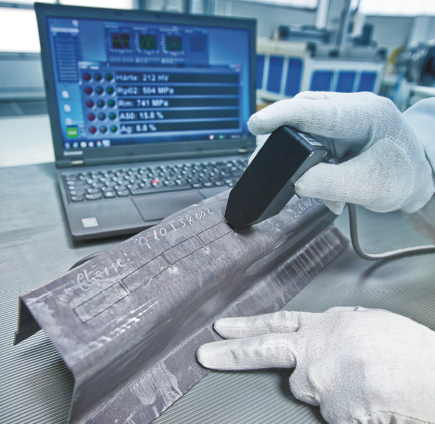 3MA Inspection of Press Hardening Parts
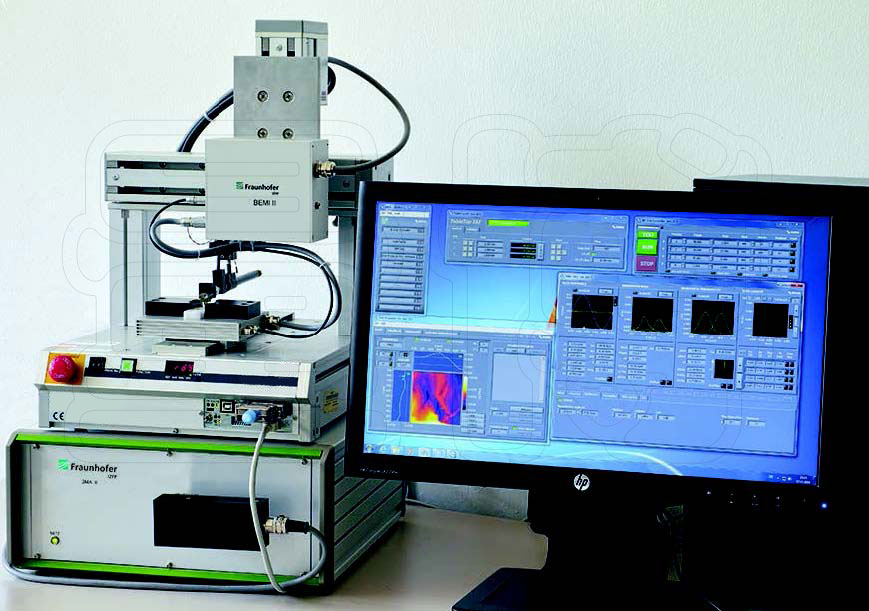 Barkhausen Noise and Eddy Current Microscope BEMI
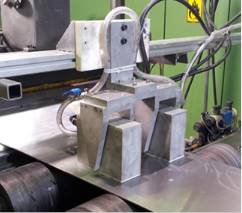 Magnus Hybrid System for In-Line Inspection of Advanced High-Strength Steel
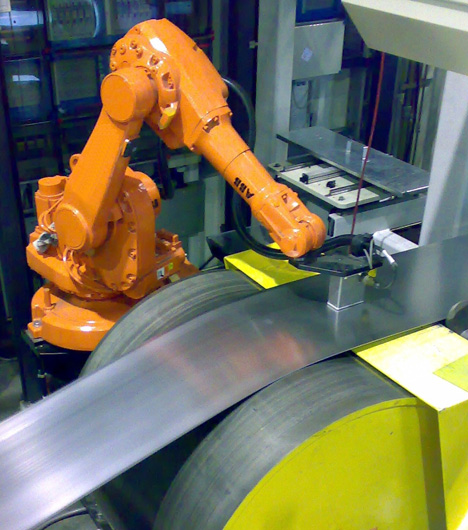 3MA-SOM steel online monitoring system
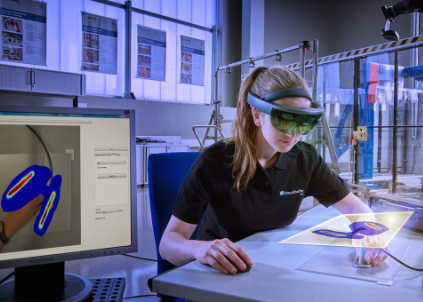 3D SmartInspect-Intelligence in Inspection and Quality Control
311,Building 5,No.81,Meiyue Road,Waigaoqiao Free Trade Zone,Pudong,Shanghai,China
amy@labgages.com
021-50473900


About LAB | Cooperative Brand | Contact us | Sitemap

滬公網(wǎng)安備 31011502000213號

 滬ICP備12021537號-1
©2012-2024 LAB GAGES