
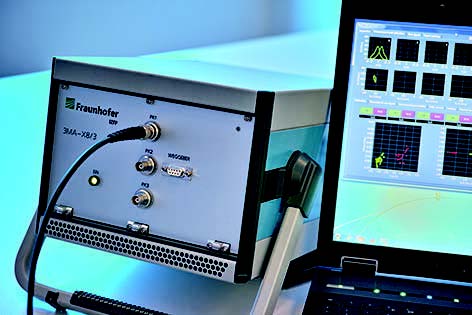
Steel manufacturing and steel processing industries require NDT methods for quality control. Hardness, case depth, strength, and residual stresses are major quality features in demand. The 3MA-X8 inspection system is especially zeroing in on high measurement velocity and variable sensor shaping, allowing to deal with multiple measuring positions or to accelerate area scans.
Inquiry Online Sales Manager: Mr Li
Steel manufacturing and steel processing industries require nondestructive testing methods for quality control. For this purpose hardness, case depth, strength, and residual stresses are major quality features in demand. Ferromagnetic steels and cast iron show a distinct correlation between magnetic behavior und mechanic-technological materials characteristics. Hard-magnetic materials – viz. materials that are difficult to magnetize or to degauss – mostly show mechanical hard and brittle characteristics, while soft-magnetic materials like pure iron use to be mechanical ductile. Equally, residual and load stresses exert a comparable influence on magnetic processes. Hence, in many cases these nondestructively gaugeable magnetic properties can be used to analyze mechanical material behavior and stress states.
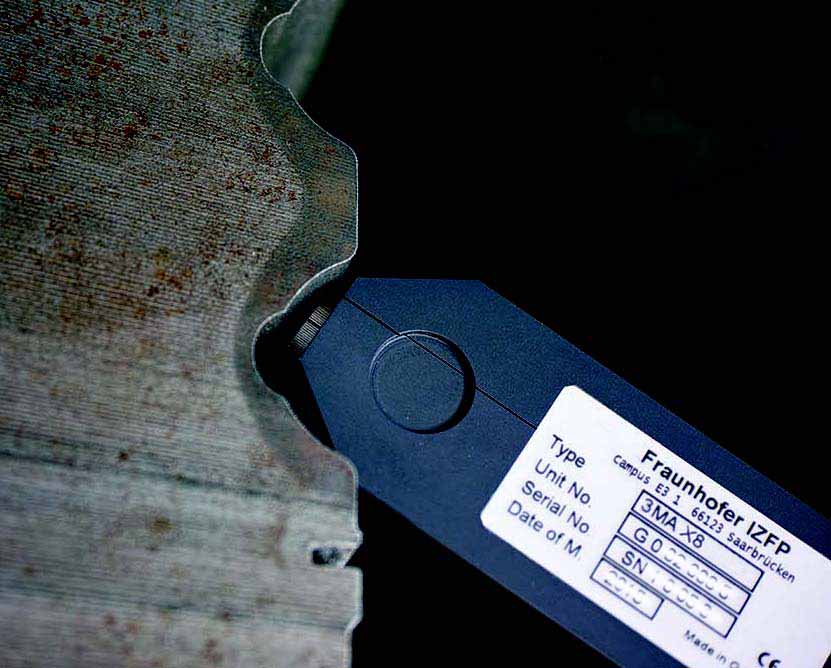 Case depth determination by 3MA-X8
3MA is an integrated NDT Technology, which is the accronym for “Micromagnetic Multiparameter, Microstructure and stress Analysis“. Within fractions of a second, Fraunhofer IZFP‘s 3MA inspection systems measure how hard- or soft-magnetic a material is. Moreover, a multitude of different magnetic parameters are determined which are correlated to different material properties or residual and load stresses. By a predefined set of calibration samples the 3MA method identifies the correlation between magnetically measured parameters and the target values as required by the customer (e.g. hardness, case depth, tensile strength, yield strength, residual stresses). This is realized by mathematical-statistical tools like pattern recognition and regression analysis. Finally, the calibration can be used to inspect calibrated types of assemblies, components or semifinishes.
The 3MA-X8 inspection system is a 3MA variation especially zeroing in on easy calibration, high measurement velocity and variable sensor shaping. Additionally, the parallel operation of up to 8 sensors in one device is possible, thus allowing to deal with multiple measuring positions at same time or to accelerate area scans.
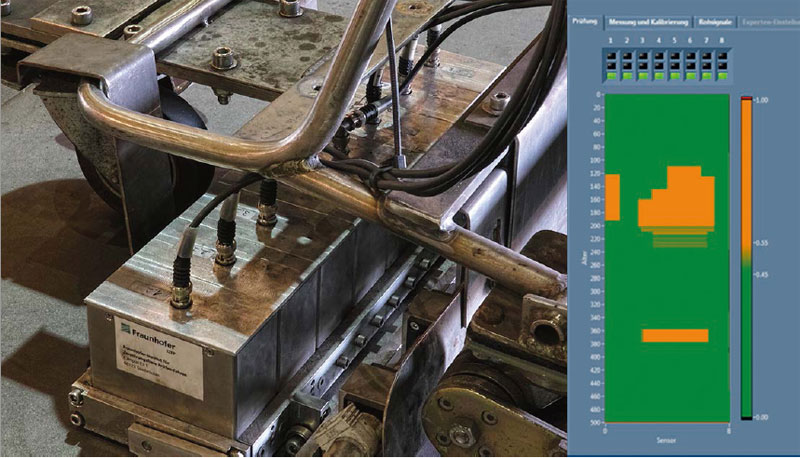 8-channel sensor carrier for sheet inspection and inspection results with colorized o.k. (green) and n.o.k. areas (orange)
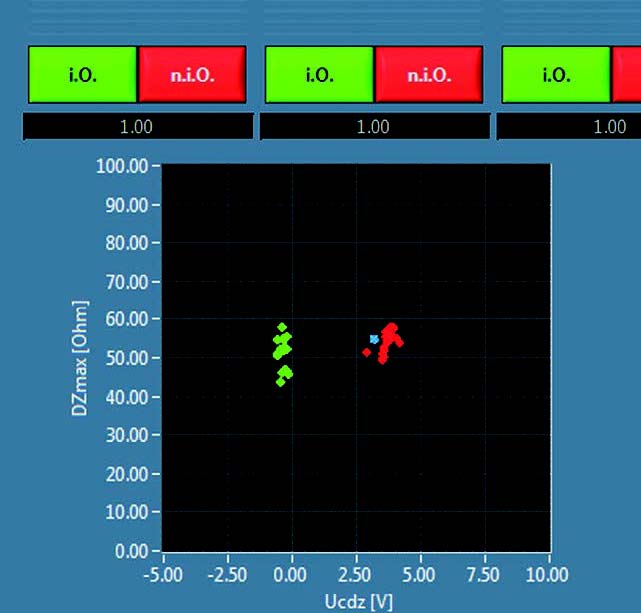 Easy calibration including visualization of o.k. and n.o.k areas
For More details, please contact LAB GAGES directly.
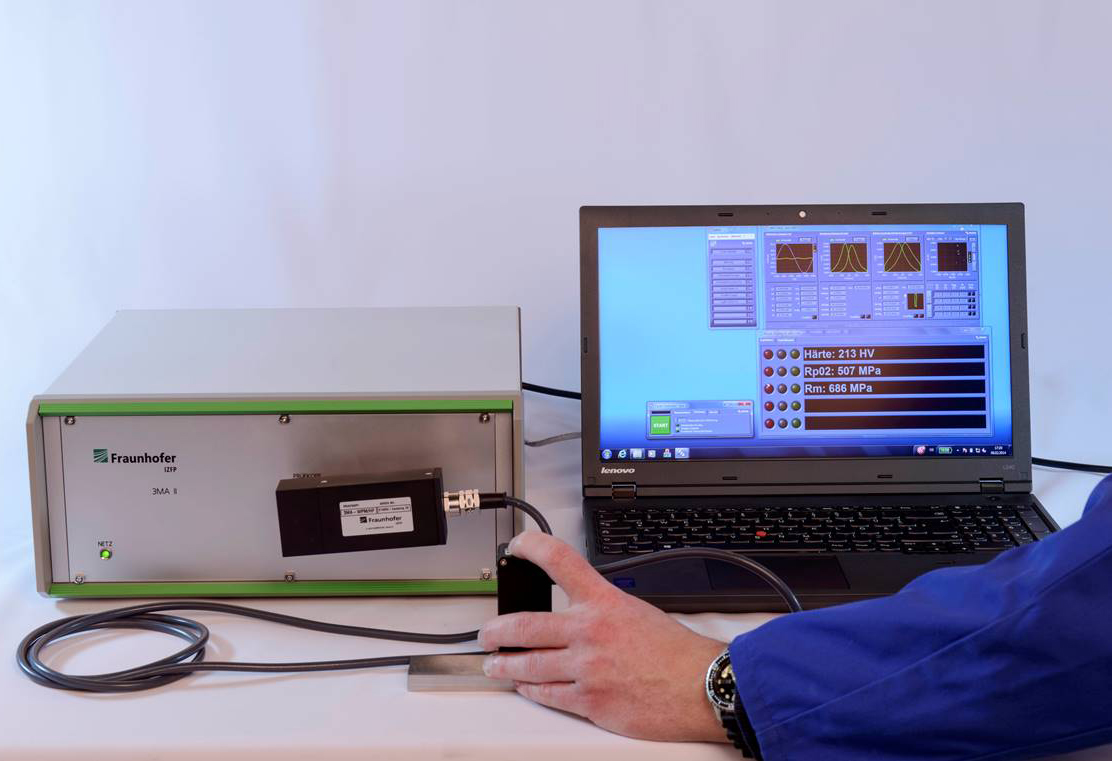 3MA THD Multi-Function Measuring Instrument
 3MA-X8 System for Fast Materials Characterization
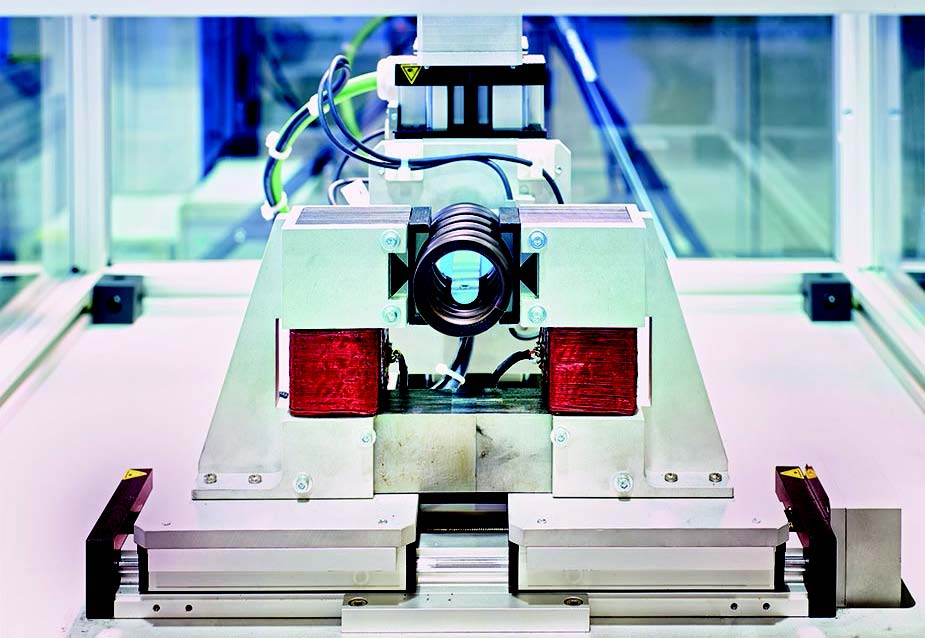 Hardness & Residual Stress Depth Profiles NDE Scanner
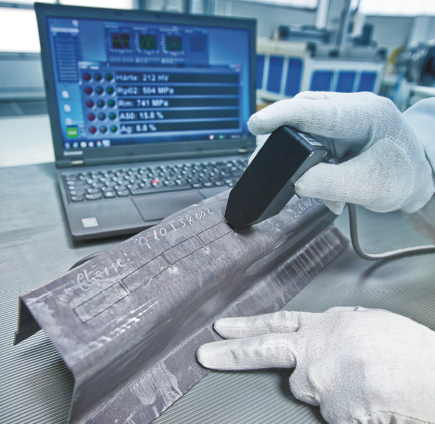 3MA Inspection of Press Hardening Parts
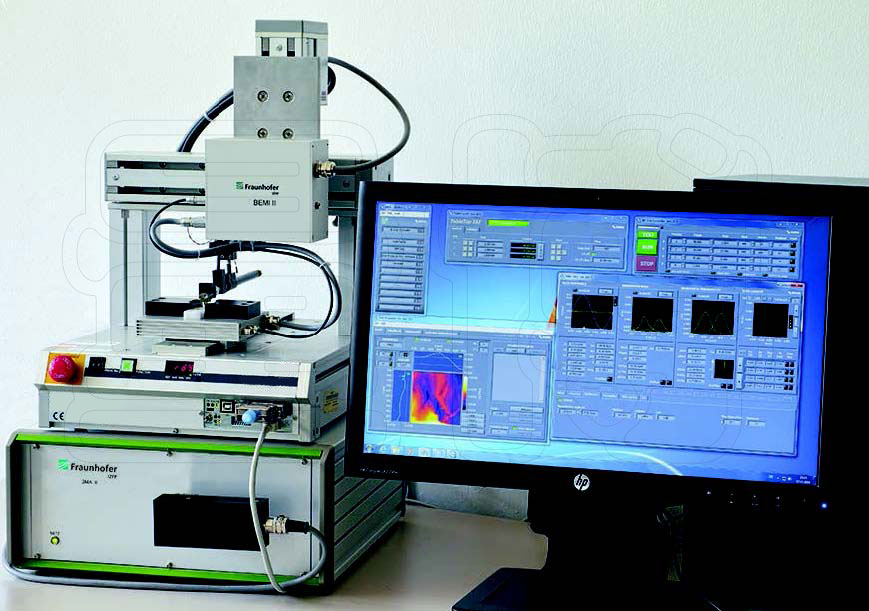 Barkhausen Noise and Eddy Current Microscope BEMI
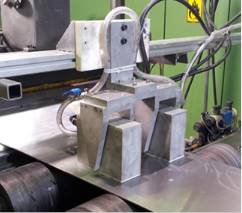 Magnus Hybrid System for In-Line Inspection of Advanced High-Strength Steel
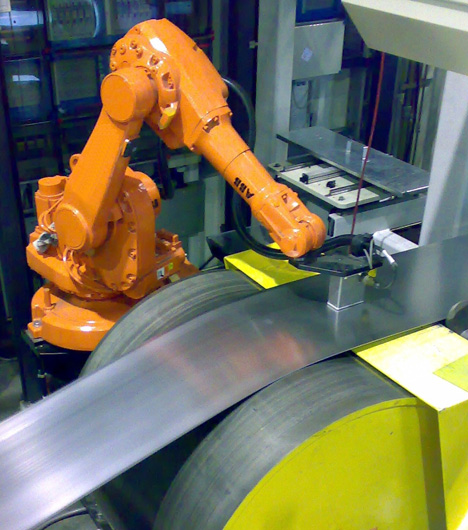 3MA-SOM steel online monitoring system
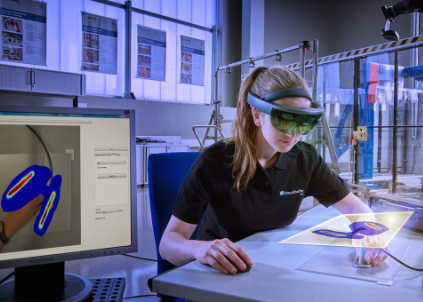 3D SmartInspect-Intelligence in Inspection and Quality Control
311,Building 5,No.81,Meiyue Road,Waigaoqiao Free Trade Zone,Pudong,Shanghai,China
amy@labgages.com
021-50473900


About LAB | Cooperative Brand | Contact us | Sitemap

滬公網(wǎng)安備 31011502000213號

 滬ICP備12021537號-1
©2012-2024 LAB GAGES