
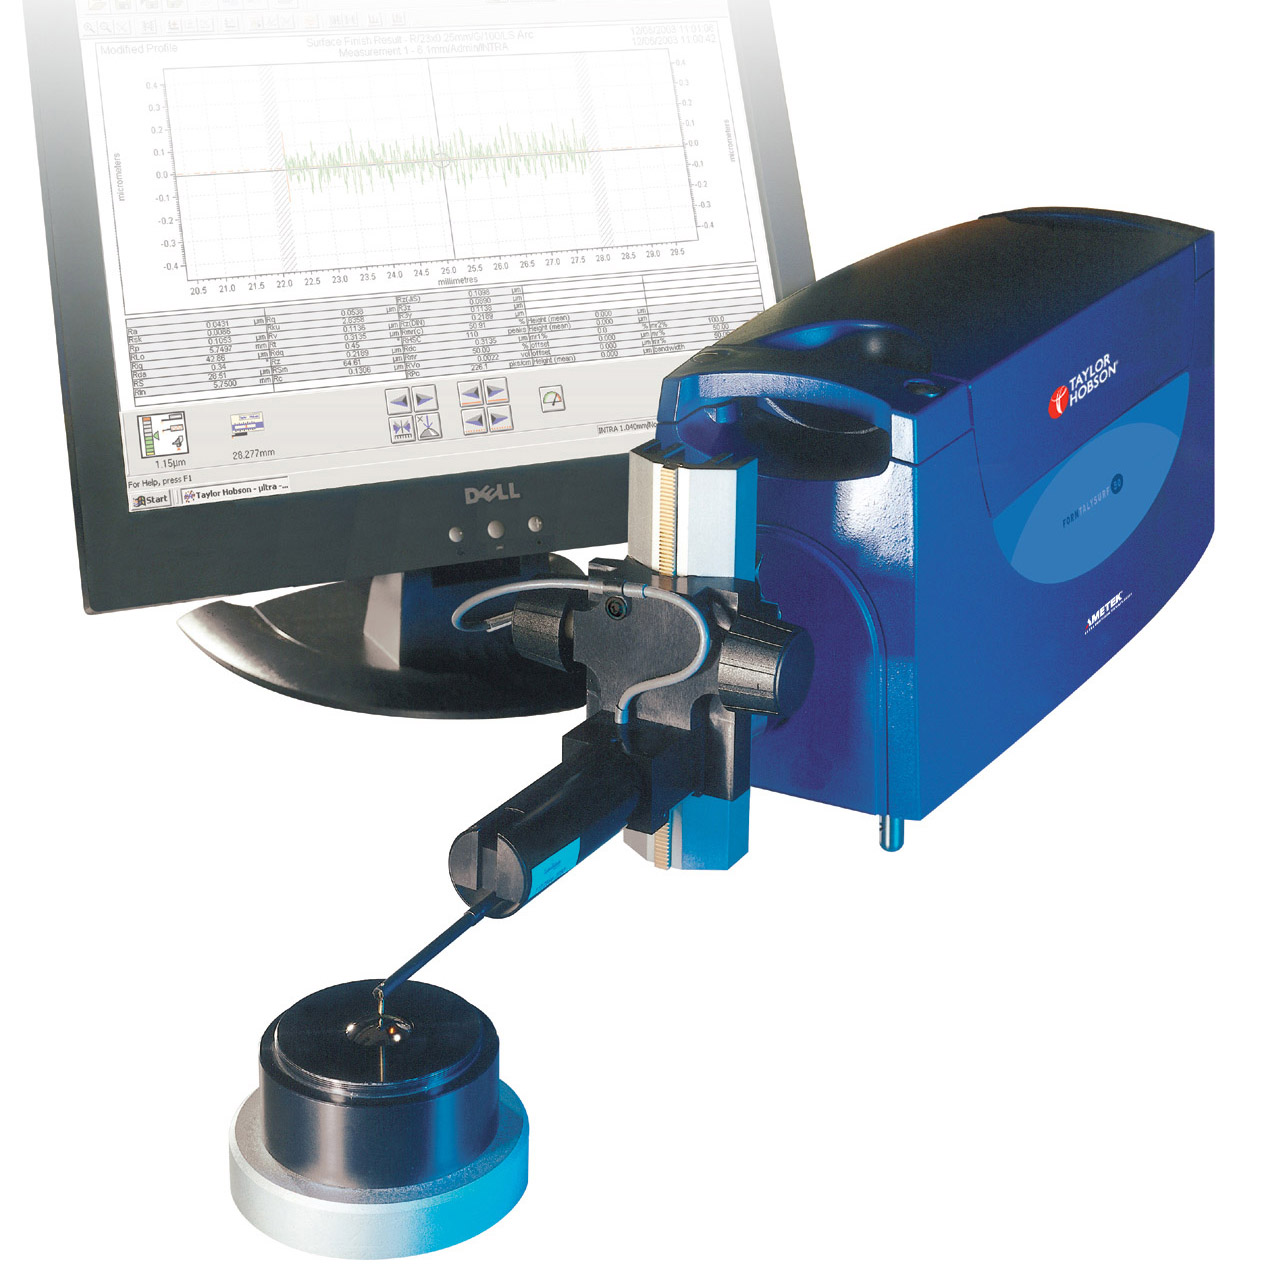
Now, our newly developed Form Talysurf Intra measurement system has reinforced Taylor Hobson’s leadership position and created a new global standard for the assessment of surface finish and form.
Inquiry Online Sales Manager: Mr Li
|
Form Talysurf Intra System Features and Benefits |
|
|
● 1mm vertical range / 16nm resolution Delivers form (contour) as well as surface finish measurement capability for precision metal forming and other applications. ● 50mm horizontal traverse Ideal for the majority of shop floor applications. The unit combines both accuracy and portability. ● 0.40um / 50mm straightness error The high accuracy traverse datum makes possible skidless measurement of waviness, form and contour, even on large components. ● 0.5um horizontal data spacing Small components and features can be measured more effectively than ever before. Reduced run-up and run-down length further improve usability. ● Manual column For large or tall components the available manual column provides a stable, dedicated work station for improved throughput. |

|
|
Ultra Software - comprehensive surface finish analysis |
|
|
The Form Talysurf Intra System include everything important to the
measurement of surface finish. Fundamental roughness and waviness
parameters are included, plus form error analysis, feature exclusion,
zoom tool and full programmability for shopfloor applications. |
|
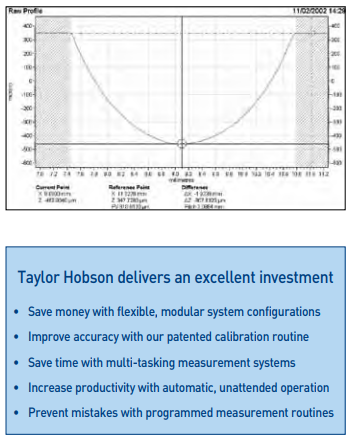 |
? Form Analysis* Measure and evaluate Radius, Angle (Slope) and Dimension ?Simple User Interface* Combines with system programmability to deliver a true shopfloor solution; custom designs available. ?Dual Profile Analysis* Allows comparison of measurements for wear, tolerancing, etc. ?Ultra Contour Analysis Separate software utility for dimensional applications, allowing design data and measurements to be directly compared, and error results obtained. Special hardware is also available for wide-range applications. ?Talymap 3D Analysis Separate software utility for topography applications; special hardware is also required. |
|
Correlation of results |
|
|
Manufacturers who outsource expect their suppliers to deliver parts that meet specification. You know the parts are good but the instrument your customer uses to inspect them says they are bad. Lack of correlation can occur even when the instruments are configured the same way as to filter, cut-off and length of trace. |
|
|
Different suppliers, different results In the case of mating pieces, one supplier makes part A, another makes B. Both say the roughness is acceptable but the end user may find that neither part meets the spec. Some of the lack of correlation between different brands of instruments or even between instruments of the same brand can be partially attributed to three factors: ? speed of traverse ? condition of the stylus ? gauge linearity |
|
|
Speed of traverse Most roughness checkers are time based, collecting data for a fixed period of time instead of a precise, constant distance. Anything that affects speed of traverse一wear, dirt, slippage etc一affects the quantity and spacing of the collected data points which in turn affect the measurement results. Form Talysurf Intra utilizes a glass scale and reading head to assure that data collection is accurate and consistent. Every measurement on every instrument is calculated from the exact same quantity of identically spaced data points. |
|
|
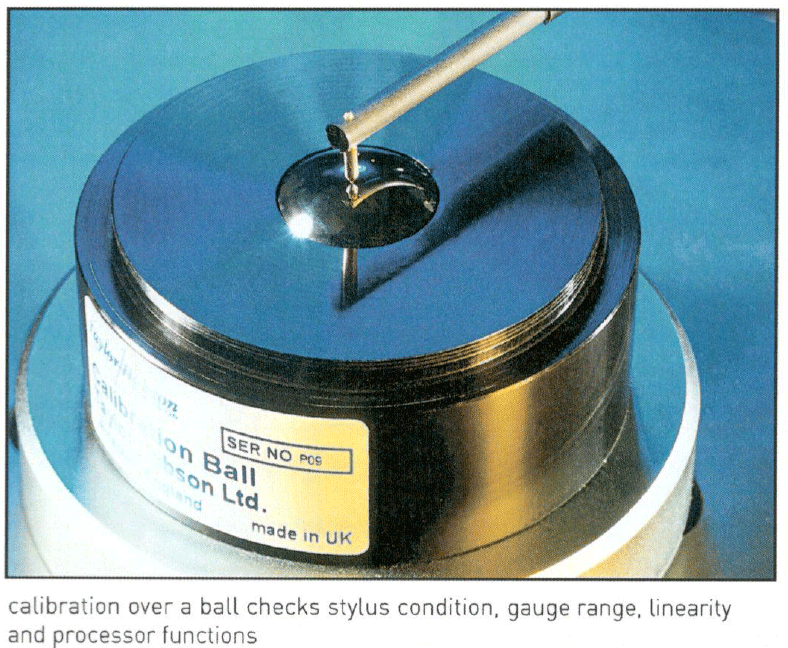
Stylus condition With many surface measuring systems, the size, shape and condition of the stylus tip are assumed to be constant in terms of data processing. In practice the stylus tip may vary due to manufacturing tolerance, routine wear or physical damage. During calibration with a Form Talysurf, the stylus is traversed over the spherical artifact to make contact at all points along the radius of the conisphere tip in the measurement direction. By this method, the user can detect effects due to stylus damage or deviations of size and shape. |
|
|
Gauge linearity Intra is calibrated over a ball to check linearity of the entire 1 mm gauge range. Most other systems use a step master or an Ra patch t卜at calibrates only ove廠a very nar廠ow band. The assumption is that if the gauge is linear over that band it is linear over the full range. Unless your measurements are all taken within the same vertical position of the gauge range and never exceed the amplitude of the step height master, the data you collect may be non一linear which will cause incorrect results. |
|
|
Simple roughness parameters like Ra can be checked with our Surtronic series instruments. If you need advanced analysis, higher levels of accuracy or greater flexibility, Form Talysurf Intra is the perfect choice. It combines industry leading specifications with simplicity of operation for unbeatable practicality and value. |
||
|
|
|
|
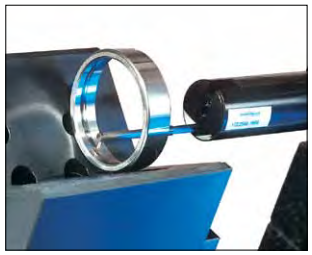
skidless tracing arms provide access to internal features such as ball tracks and ring grooves |
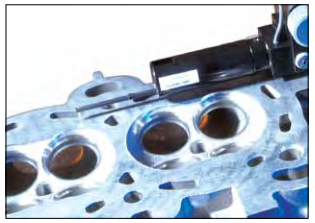
high resolution skidless pick-up is necessary for straightness and waviness measurements |
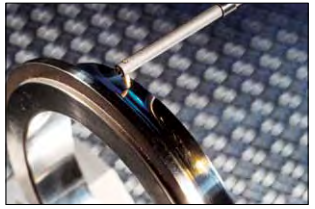
measureable form features may be spherical, aspherical, concave,convex, internal or external |
|
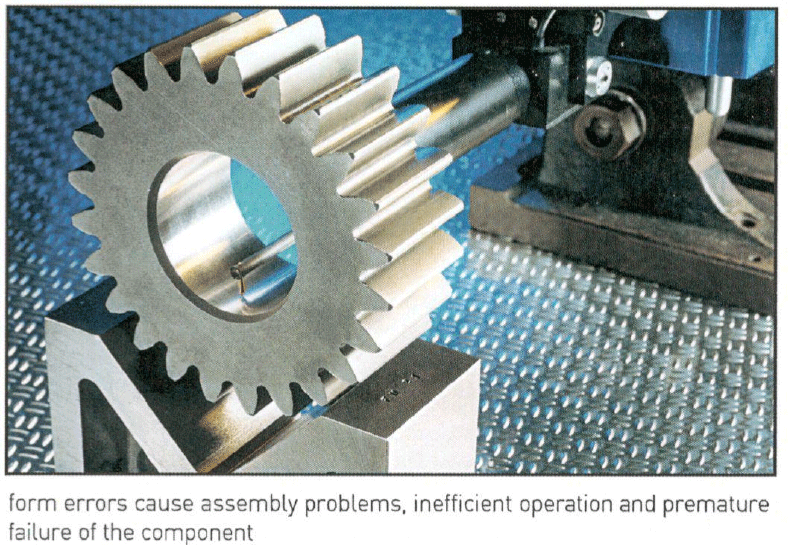
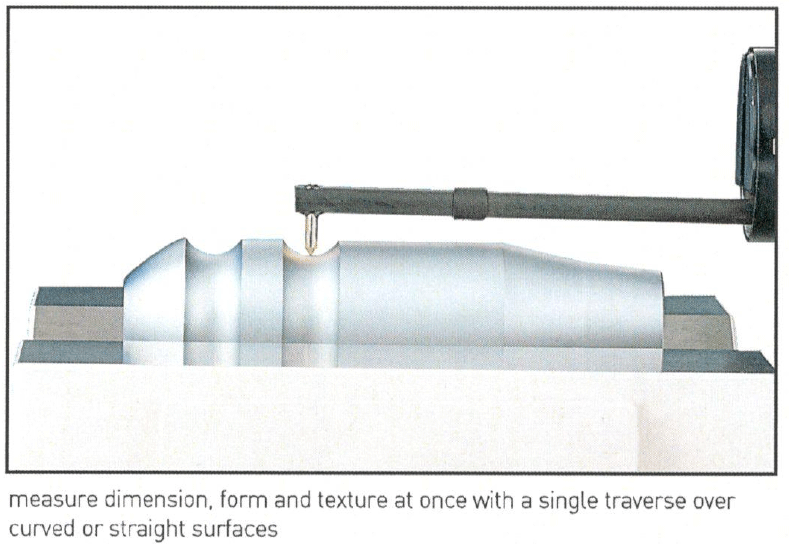
Analysis fundamentals The measurable elements of a surface are dimension, form, roughness and waviness. Many high specification components require analysis of all four. Dimension - the functional shape of a surface as defined by radius, angle, distance, and the linear relationship between features. Form - deviations from the intended shape of a surface (flat, spherical, tapered, etc.); often caused by machine tool inaccuracies. Roughness - a deliberate, controllable element of the component design produced by the action of the cutting tool or machining process. Waviness - an undesireable machine tool effect resulting from vibration, lack of stiffness or other instabilities in the machining process. |
Skidless measuring system Many roughness checkers use skidded pick-ups to guide the stylus over the workpiece, with the workpiece itself forming the datum for measurement. Because the skid also acts as a mechanical filter, removing or altering general form and waviness characteristics, the collected data is not suitable for advanced analysis. Intra is the right choice For correct data collection the gauge must pass over the component in a straight line such that only the stylus tip comes in contact with the surface under test. Vertical stylus movement is relative to the traverse datum, a reference bar that has been lapped or precision ground to an extremely high flatness and straightness tolerance. Form Talysurf Intra is skidless and can be used for waviness, profile and other parameters such as Material Ratio with absolute confidence in the measurement results. |
For your industry Form Talysurf Intra offers exceptional productivity for a wide range of industries and applications.
For general purpose or for solving a specific application problem, Form Talysurf Intra can be configured to perform within your budget.
Unlike closed end systems that will be obsolete when your requirements change, Form Talysurf Intra can be expanded to meet whatever the future brings. |

311,Building 5,No.81,Meiyue Road,Waigaoqiao Free Trade Zone,Pudong,Shanghai,China
amy@labgages.com
021-50473900


About LAB | Cooperative Brand | Contact us | Sitemap

滬公網(wǎng)安備 31011502000213號(hào)

 滬ICP備12021537號(hào)-1
©2012-2024 LAB GAGES