
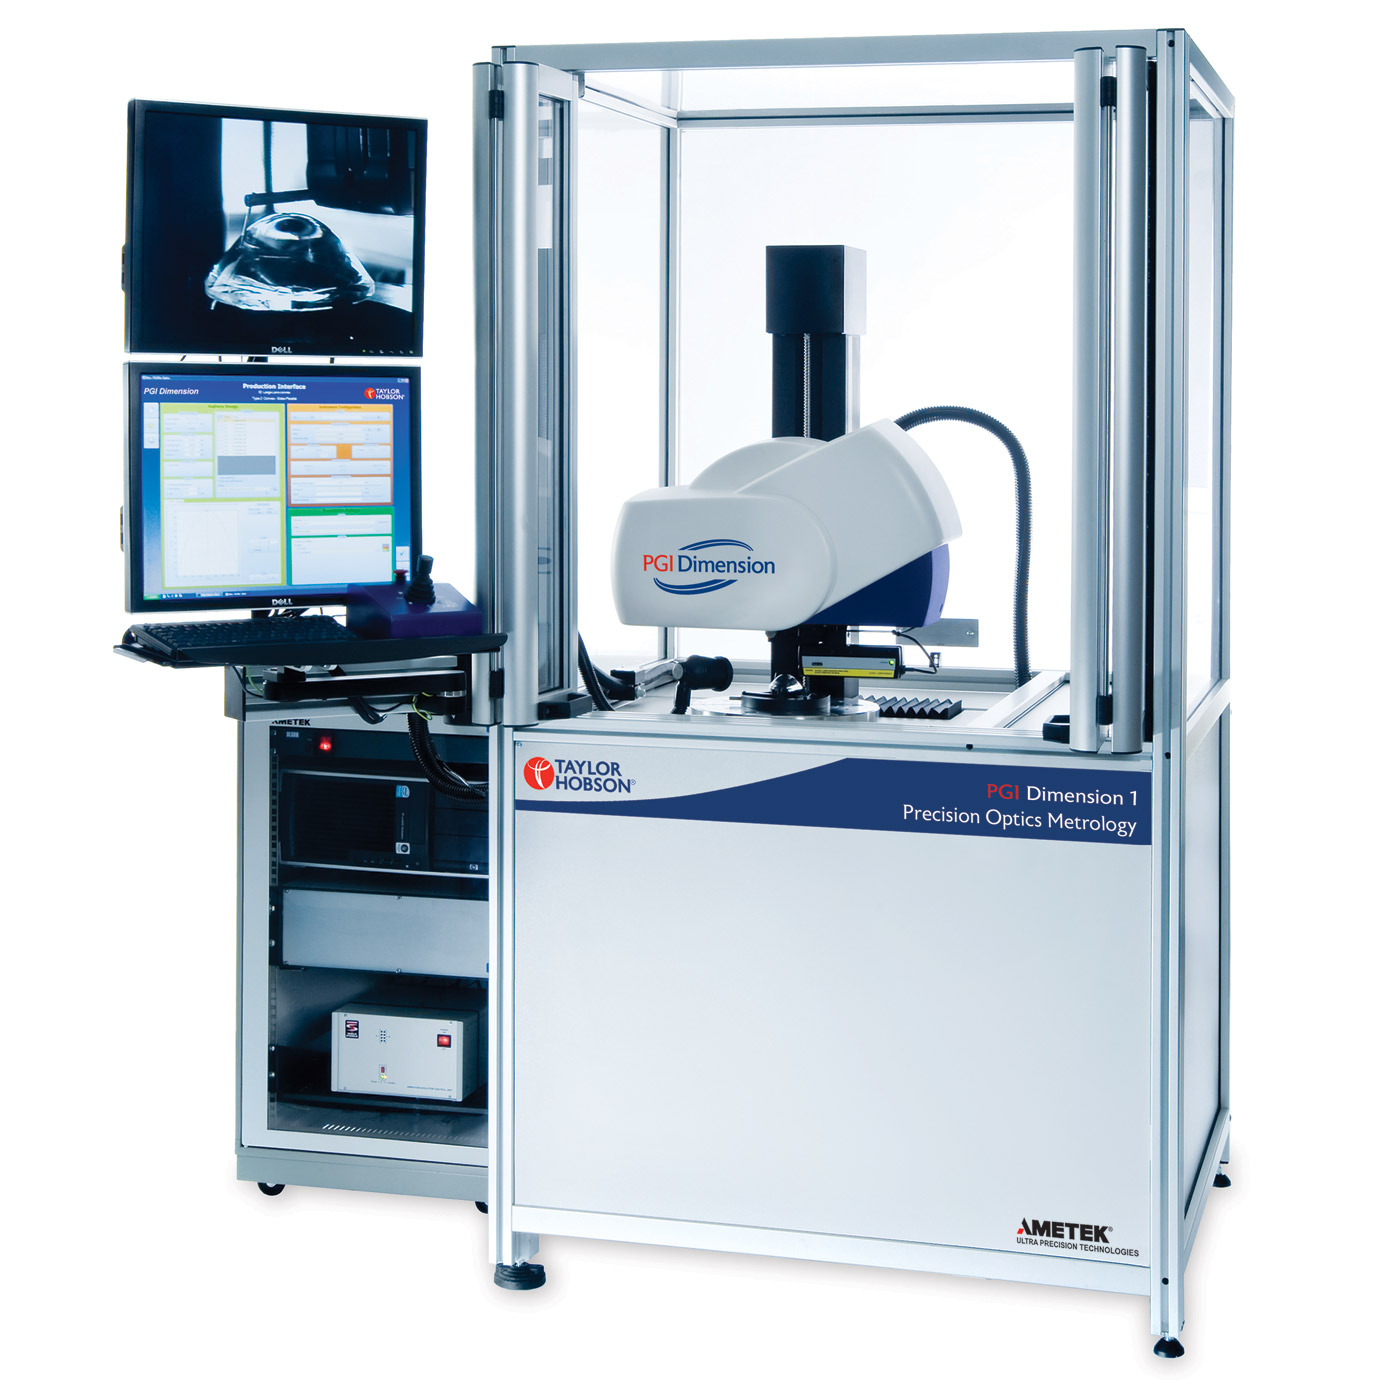
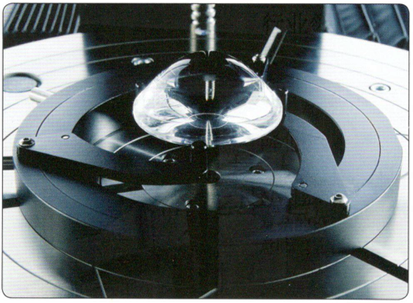
PGI Dimension combines high precision, versatile measurement with fully automatic control. The optical three-dimensional PGI provides the necessary flexibility, the ability to measure near-vertical angles, and is virtually independent of any aspheric design, allowing the measurement of a wide variety of optical components across different industries. The system performs an assessment of shape errors and surface astigmatism and presents it clearly through a new fully automated user interface and 3D output.
Inquiry Online Sales Manager: Mr Li
|
Versatile 2D and 3D analysis for spheres, aspherics and diffractives |
Unique software saves production time and increases output |
|
Form repeatability of <100 nm and slope angles of up to 85 degrees mean that the Talysurf PGI Dimension instrument is a versatile instrument for spherical, aspheric, diffractive lenses and molds, which allows a wide range of accurate 2D and 3D measurements and analysis. The fully automatic centre and levelling feature includes new routines to ensure the accurate alignment of virtually any part: steep, shallow, large and small. |
Advanced Aspheric analysis software guarantees the quality of aspheres and saves time with instant analysis of form error, zone depth and spacing. Unique technology delivers nm level residual form error analysis, and advanced algorithms can extract a sub-micron lens form error from much larger diffractive zone depths. Derived co-efficient functions enable reverse engineering of aspheric and diffractive components, giving feedback to designers of the as-is manufactured lens (with error) to enable adjustment of critical design systems to improve performance. |
|
Designed for ease of use in the production environment |
Technology advancements |
|
The new production interface gives fully automated operation, ideal for use on the shop-floor. The easy-to-use ‘single-click’ operation is quick to learn and will provide an automatic 2D or 3D analysis and output display. The instrument can be initially set up by quality specialists for the use of a wide range of manufacturing staff. After commencing the measurement PGI Dimension can then be left unmanned to complete the cycle. |
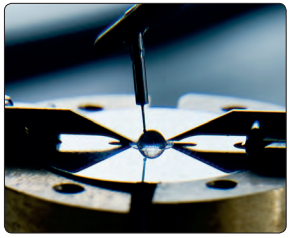
The ball calibration routine gives dimensional measurement capability and gauge linearity in a single automated operation, to exacting standards calibrated from our own UKAS approved laboratory. New levels of measurement capability are achieved through the unique calibration unit and software which help to achieve centering and levelling of the lens for accurate rotational lens measurement. |
 |
 |
Powerful software features
TalyMap analysis software
TalyMap is constantly being transformed by a team of experts from a wide range of disciplines, including metrology, software engineering and fully automated, to meet the current and future needs of surface metrology.
Main Feature:
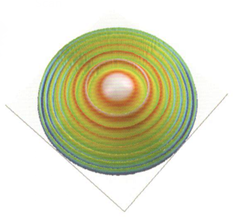
Complete metrology traceability
The new analysis workflow makes it easy to track every step in the analysis file. You can add new steps or fine-tune and delete existing steps at any time
Quality control statistics
New statistical options to track and generate data for parameters of multiple measurement data sets.
Multi-language support
The optional software interface includes any of six European languages, Japanese, Chinese, Korean, Brazilian Portuguese.
Get results quickly
Using the Minidoc feature, you can define the analysis steps for any sequence and save them in the Minidoc library, significantly speeding up the preparation of new reports.
Customization
Add company logos, measurement badges, on-screen instructions and illustrations, including bitmaps, text fast and arrows
Advanced module
The TalyMap Advanced Module provides additional analysis and presentation capabilities and adds TalyMap functionality.
Software features help save time and improve error detection efficiency
Aspheric analysis application
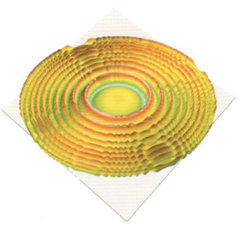
Diffraction analysis
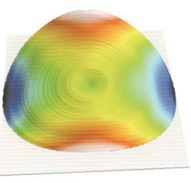
Designed for aspherical optics, the software compares the measured data to the theoretical design formula to obtain error data for the aspheric optical axis.
The base circle radius optimization function highlights the change in the radius of the base circle during production, allowing the user to quickly determine a good part radius and then check against the allowable production tolerances.
The SAG table module is used to form reports and export to spreadsheet software, providing user-created analysis or feedback to the processing system. Slope analysis allows us to further understand the IF error of the part.
The parameter back calculation module finds a suitable aspheric surface through a specific algorithm. The calculated values can be used with optical design software to evaluate the effect of shape error deviations on the optical performance of critical systems.
Diffraction part analysis software
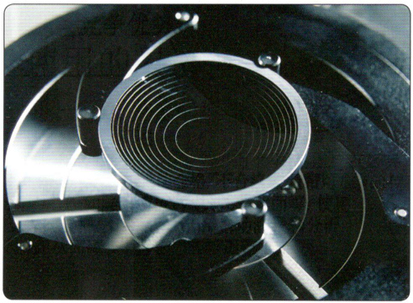
More and more applications, especially infrared applications, have begun to adopt aspherical diffractive surface designs. Diffraction surface analysis software is written to evaluate these complex surfaces and provides the user with surface and area size parameters.
When the diffractive surface analysis is used with the aspheric analysis software, the user can check the basic shape of the aspherical diffractive surface part. The results for each zone are tabulated and can be exported to a CSV file for further analysis. The polynomial settings of the diffractive surface can be saved and restored, allowing the user to quickly switch between different designs.

311,Building 5,No.81,Meiyue Road,Waigaoqiao Free Trade Zone,Pudong,Shanghai,China
amy@labgages.com
021-50473900


About LAB | Cooperative Brand | Contact us | Sitemap

滬公網(wǎng)安備 31011502000213號(hào)

 滬ICP備12021537號(hào)-1
©2012-2024 LAB GAGES