Leave a Message Induction hardening and nondestructive methods of hardening depth measurement
Induction hardening
The flames during flame hardening generally lead to a large heat-affected zone. With small geometries, this can lead to undesired full hardening over the entire cross-section. In order to harden even such thin-walled workpieces only on their surface in the range of a few tenths of a millimetre, so-called induction hardening can be used.
The principle of induction hardening is based on the induction effect, which is also used in induction cookers or transformers. A high-frequency alternating current is generated in a copper tool electrode (“primary coil”) which is adapted to the shape of the workpiece to be hardened. This in turn leads to a constantly changing magnetic field around the electrode, which penetrates into the adjacent workpiece and generates eddy currents due to the induction effect (“secondary coil”). These very large eddy currents of up to several thousand amperes per square millimeter lead to heating of the workpiece.
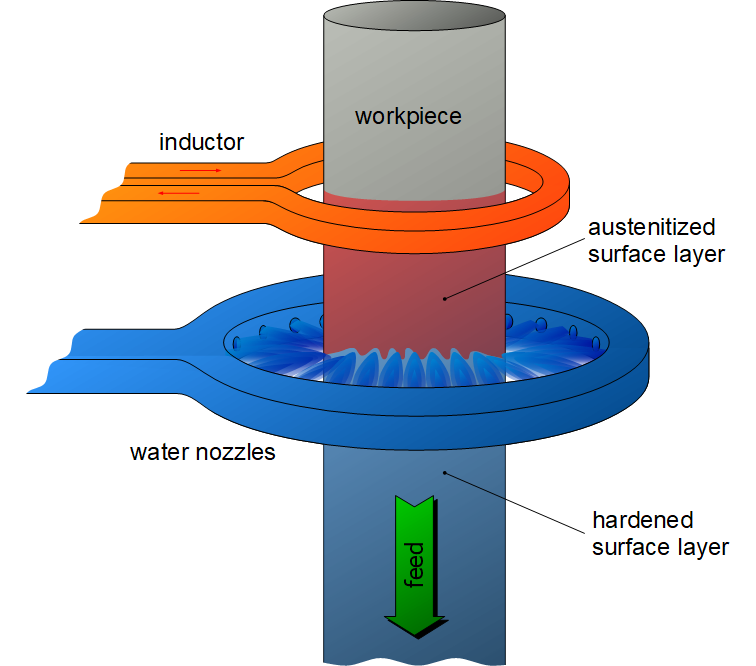
Figure: Induction hardening of a bolt
The fact that heat is mainly generated on the surface rather than inside the material is due to another physical phenomenon, the so-called skin effect. While the current density in a conductor cross-section is constant with direct current, with alternating current the current density increases with increasing frequency in the outer areas and decreases inside. The frequency of the eddy currents in the workpiece depends on the frequency of the alternating current in the electrode (also called inductor). This also results in relatively simple control of the hardening depth. The higher the frequency, the stronger the skin effect and the thinner the layers to be hardened.
The frequencies to be adjusted therefore depend on the thicknesses of the hardness layers to be achieved. At a utility frequency of 50 Hz, hardening depth in the range of 20 mm to 10 mm can be achieved. In the medium frequency range from 1 kHz to about 10 kHz, hardening depth of about 5 to 1 mm can be achieved. In the high-frequency range of up to several megahertz, even hardening depth of only a few tenths of a millimeter can be achieved.
With induction hardening, the workpiece is heated by induced eddy currents. The hardening depth is controlled by the frequency of the alternating current!
With induction hardening, the austenitized surface is usually quenched by means of downstream water showers, which are pulled evenly over the workpiece together with the inductor. In cases where only very low hardening depths are achieved, quenching can also take place without water by the relatively cool material core (self-quenching). Because a very high hardness can be achieved at the surface during induction hardening, high residual stresses can occur. This may require subsequent tempering at low temperatures.
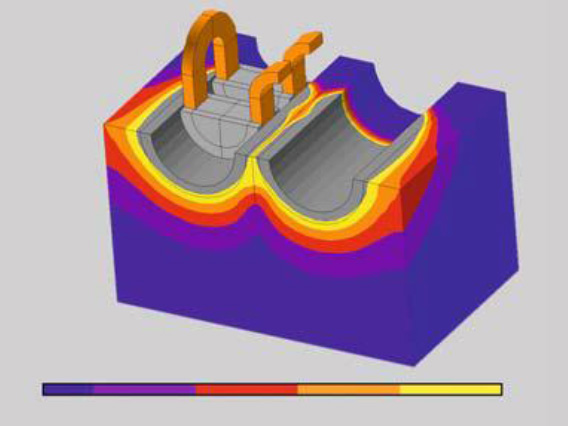
The heating times are generally considerably shorter with induction hardening than with flame hardening, since a specific heating output of several kilowatts per square centimetre can be achieved, which is approx. 10 times greater. This has the advantage that the scaling is relatively low and the post-processing effort is reduced accordingly. This also significantly reduces the risk of hardening distortion.
In addition, no (toxic) exhaust gases are produced during induction hardening compared to flame hardening. Another advantage of induction hardening is the more even heating of the surface, provided the inductor is optimally adapted to the workpiece. This requires a high design tooling effort in advance so that induction hardening is economical, especially in automated production lines with high batch sizes. Due to the high electricity costs, economic efficiency increases when only small surface sizes have to be hardened on a workpiece.
Induction hardening can be easily automated and is suitable for complex geometries, especially in mass production! Scaling and hardening distortion are less than with flame hardening!
Nondestructive methods of hardening depth measurement
Induction hardening is a complex process that requires regular verification of the case depth and the microstructure. Today this verification is done by destructive testing where a cross section is analysed. The case depth is measured by several Vickers hardness impressions and the microstructure is analysed by a light optic microscope.
A hardening profile is analyzed by taking several Vickers hardness impressions to be able to determine the case depth in mm. This is a time consuming method that takes about 6-8 h to perform and therefore a quick nondestructive method like ultrasonic testing is of interest.
Example of induction hardening profile after Induction Heat Treating
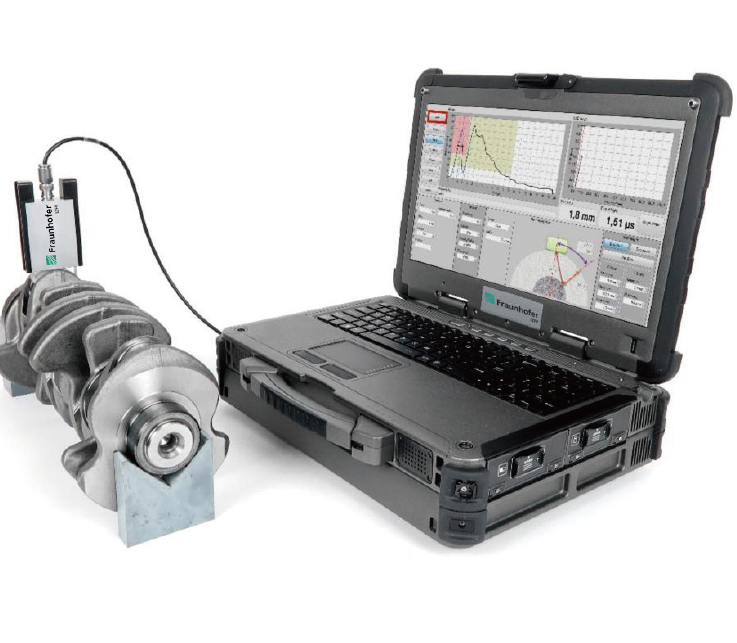
Fraunhofer Ultrasonic Backscattering Nondestructive Technique (UBT)
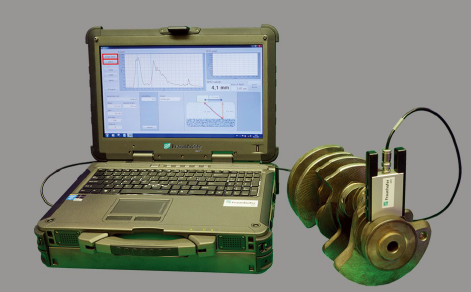
It is found out that Fraunhofer ultrasonic backscattering testing (UBT) is a reliable method to analyze the hardening layer thickness / case depth on induction hardened parts. Then it will lead to decreasing the amount of destructive testing and that will minimize the production stop time.
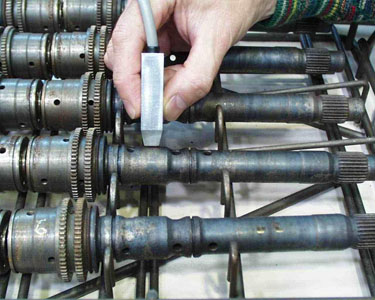
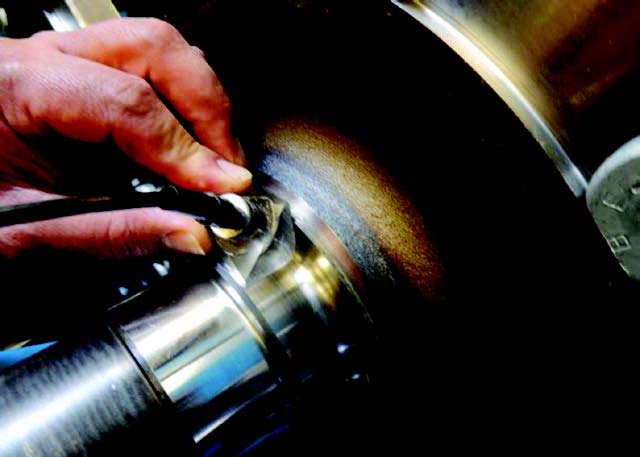 NDT measurement of the induction hardened depth in the radius area by Fraunhofer system NDT measurement of the induction hardened depth in the radius area by Fraunhofer system
|
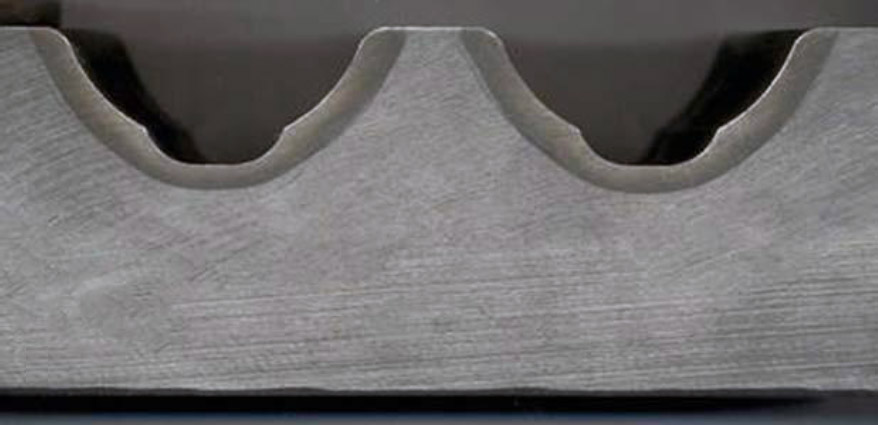
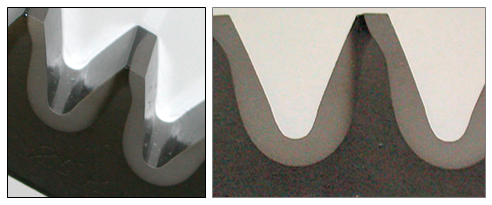
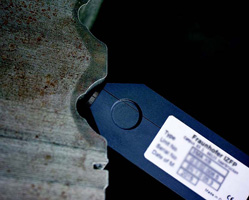
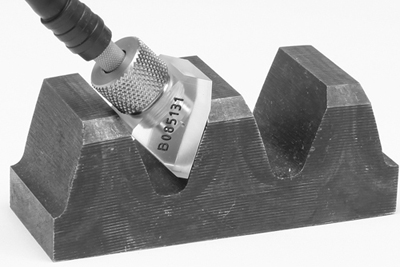 NDT measuring of induction hardened depth in gear flank NDT measuring of induction hardened depth in gear flank
|
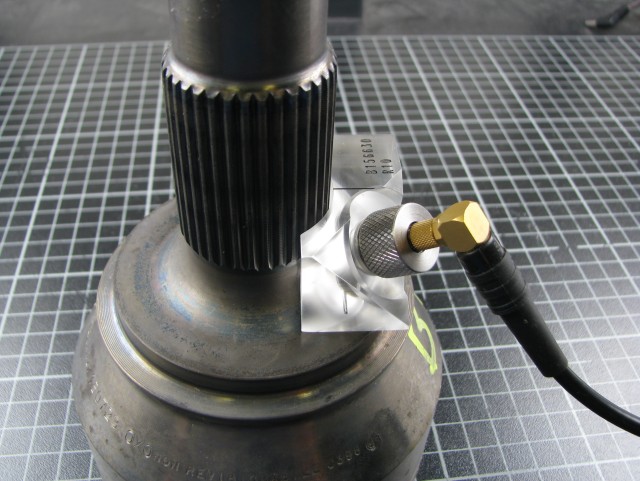
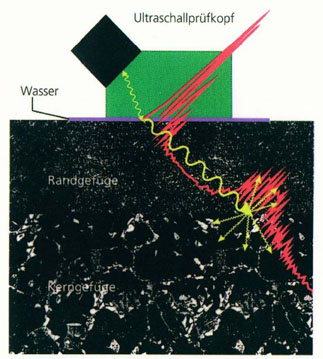 Principle of IZFP ultrasonic backscattering technique Principle of IZFP ultrasonic backscattering technique
|
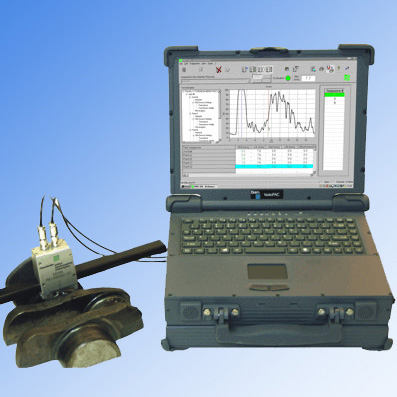
Fraunhofer 3MA Nondestructive testing Technique (Micromagnetic, Multi-parameters, Microstructure and stress Analyzer)
The most important quality characteristics of surface induction hardened workpieces are the hardening depths, i.e., the surface-hardening depth (SHD) after induction hardening. In addition, the hardness and residual stress values at the surface and in the bulk or even the depth-profiles of hardness and residual stress are relevant in order to assure the quality of such workpieces. All of these material parameters can be determined with 3MA after appropriate calibration. For all induction-hardening mechanisms, 3MA not only allows the hardening depth to be determined, but also the hardness at the surface, the core hardness, and the hardness values between.
If you have questions about induction hardening quality, hardness testing, effective hardened layer depth measurement, etc., the experienced customer service team of LAB GAGES will answer your questions about our products, prices, ordering and other information during working hours.

 Figure: Induction hardening of a bolt

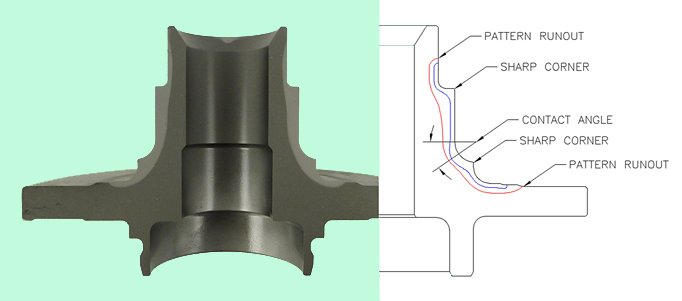
 NDT measurement of the induction hardened depth in the radius area by Fraunhofer system
 NDT measuring of induction hardened depth in gear flank
 Principle of IZFP ultrasonic backscattering technique



 滬ICP備12021537號-1
©2012-2024 LAB GAGES