Leave a Message How to measure Duplex Anti-corrosion Coatings non-destructively in Automotive?
Automobile Industrial Demands
For automotive manufacturers, it is of increasing importance to control the quality of the paint processes in order to ensure effective corrosion protection while reducing costs. Especially in EDP (electrophoretic deposition) processes, this requires adherence to tight tolerance limits, which in turn, requires careful monitoring. But the measurement task itself should also be fast and cost-effective; the instrument must be able to measure lacquer atop various base materials (mainly galvanized steel or aluminum) without refitting or recalibration.
Technology Application and NDT Solution
To measure lacquer coatings on both steel and aluminum with the same instrument and without having to change probes, it is necessary to utilize different methods. Furthermore, when the steel is galvanized, the Zn coating must be measured separately in order to determine the thickness of the lacquer coating above it. Especially for this purpose, LAB GAGES could provide the PHASCOPE PMP10 DUPLEX and the ESG20 probe developed by FISCHER, uniting three measurement methods in one system for testing the thickness of each layer precisely and accurately.
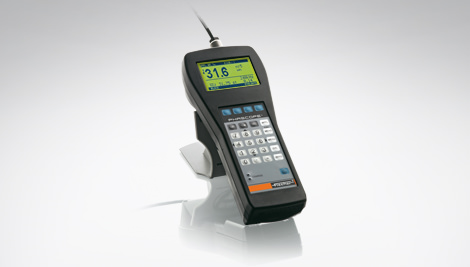
Fig.1: PHASCOPE PMP10 DUPLEX
For a typical lacquer/Zn/Fe combination, the Zn layer is measured through the lacquer using the phase sensitive eddy current method (employing lift-off-compensation). At the same time, the overall coating thickness (Zn+ lac-quer) is measured using the magnetic induction method; the thickness of each individual layer is derived from this and displayed on the instrument.
For coating systems on aluminum, the amplitude sensitive eddy current method is used. A special conductivity compensation feature ensures that the various conductivities of different Al alloys exert no influence on the measurement of the lacquer layer. Without any additional calibration, the coating thickness can be measured precisely and reproducibly in one pass even when the substrate changes, as the probe automatically identifies what the base material is.
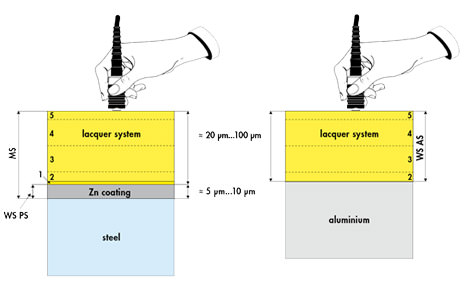
Fig 2: Typical measurement tasks in the automotive industry.
MS = magnetic induction method, WS PS = phase sensitive eddy current method, WS AS = amplitude sensitive eddy current method
Especially with costly EDP coatings, very small tolerances – often of just ± 2 μm – must be met in order to ensure the minimum thickness for effective corrosion protection while minimising the amount of material consumed. This is why it is necessary to measure the Zn layer underneath the paint to determine the real thickness of the lacquer, since even minor variations in the Zn coating could erroneously indicate a (non-existent) flaw in the paint process.
The PHASCOPE PMP10 DUPLEX, together with the ESG20 probe, was developed especially to meet the requirements of the automotive industry. Its three different measurement methods make it possible to measure lacquer coatings precisely, in one operation, whether on galvanized steel or on aluminum. LAB GAGES will gladly provide you with further information.

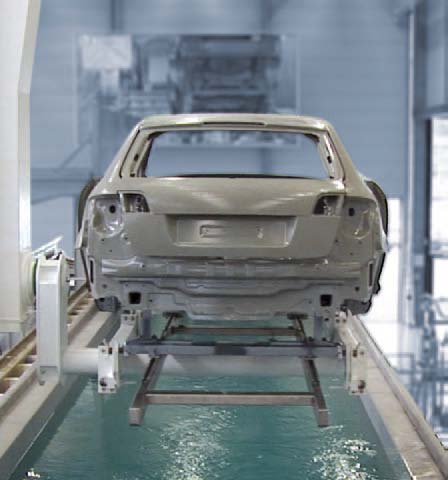

 Fig.1: PHASCOPE PMP10 DUPLEX
 Fig 2: Typical measurement tasks in the automotive industry.


 滬ICP備12021537號-1
©2012-2024 LAB GAGES