
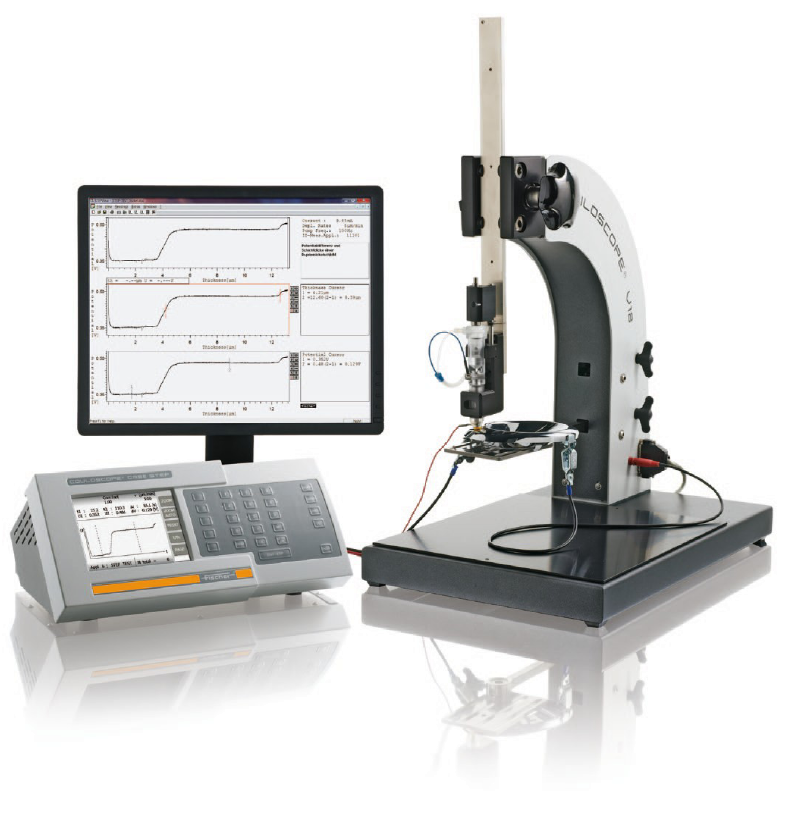
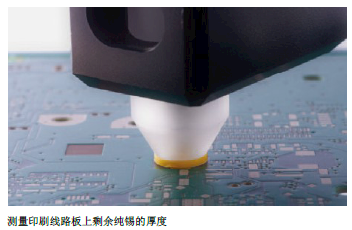
Coulometric method is an simple and easy electrochemical analysis for determining thickness of a metal coating or multi-coatings. COULOSCOPE CMS2 Coulometric multi-coating thickness Instrument is mainly used to check plating layer, now also suitable for monitoring thickness of remaining pure tin on printed circuit board.
Inquiry Online Sales Manager: Mr Li
|
This series of instruments is coulometric according to DIN EN ISO 2177. Metal plating on metal or non-metallic substrates, by electrolytic corrosion under controlled current conditions - is actually the reverse of electroplating. The current loaded is proportional to the thickness of the coating to be stripped. If the current and stripping area remain the same, the thickness of the coating is proportional to the electrolysis time. The measuring cell - comparable to a micro electrolytic cell - is used to strip the coating. The measurement area is determined by the size of the gasket mounted on the measuring cell. Different formulations of electrolytes are used for different metals. The electrolysis process begins by loading the current. The electrolysis process is controlled by the electronic part of the COULSCOPE instrument. A pump is used to agitate the electrolyte to smooth the electrolyte in the electrolysis zone to ensure the utilization of the electrolyte. Depending on the size of the measurement area, washers of various diameters are available. |
|
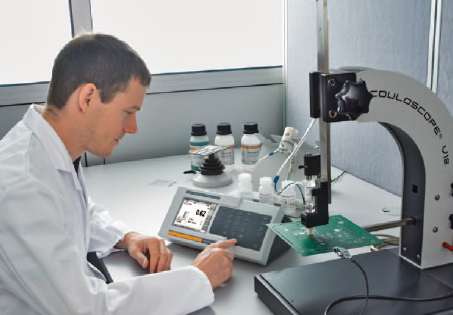
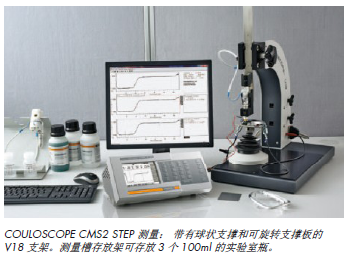
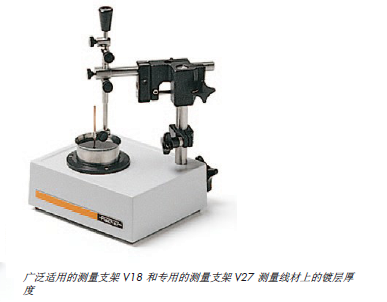
Characteristics of COULOSCOPE CMS2□ Large size, high resolution color display□ Simple operation and graphical user guidance □ Semi-automated measurement with V18 bracket □ Simple choice of electrolysis speed and measurement area (0.1--50 μm/min) and (0.6--3.2 mm ?) □ Voltage curve graphic display □ Graphic and statistical analysis □ Multi-language and unit of measure to choose from |
|
|
|
|
|
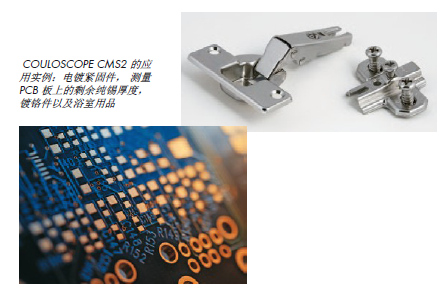
Many common single and double coatings such as iron galvanizing or copper nickel plating tin can be measured simply and quickly with CouloScope CMS2. This method provides accurate measurements for any metal coating. Many materials do not need to be preset in the thickness range of 0.05 - 50 μm; the substrate composition and geometry are irrelevant for the measurement. One of the common applications is to measure the remaining pure tin on the board to ensure solderability. Multi-plated layers such as Cr/Ni/Cu are often used in high quality bathroom products on iron or plastic (ABS) substrates and can also be measured by this method. |
|
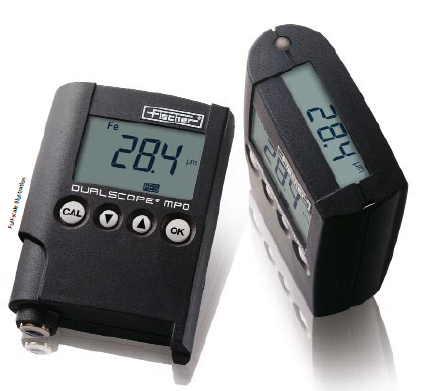 Germany Fischer coating thickness gauge Dualscope MP0
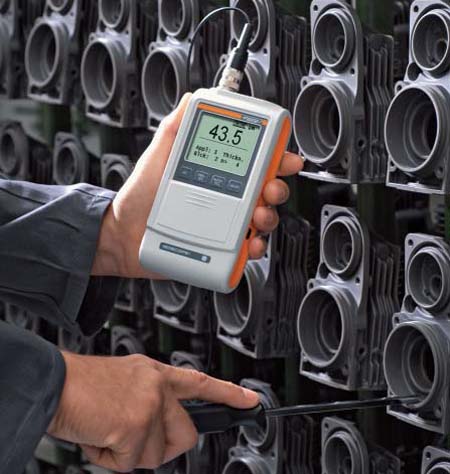 DeltaScope FMP30 Coating thickness Gauge
 COULOSCOPE CMS2 multi-coating thickness Instrument
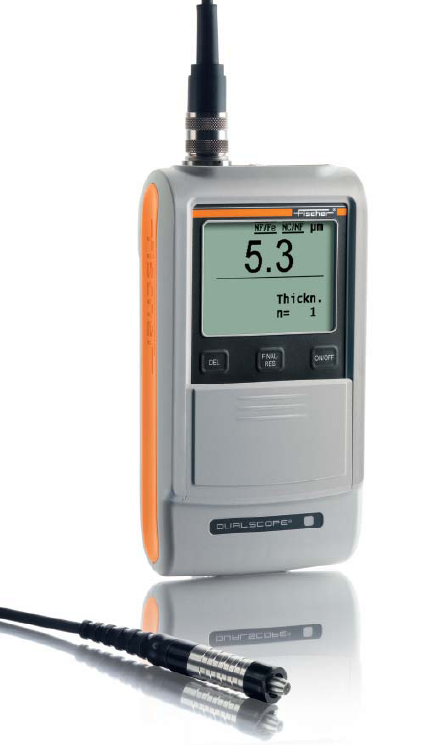 FMP10 Handheld Coating Thickness Gauge
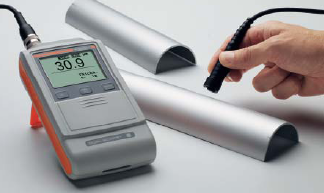 Fischer FMP20 magnetic induction coating thickness gauge
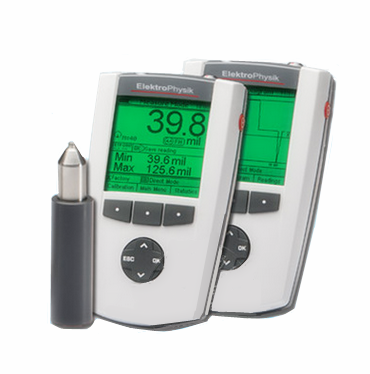 EPK MiniTest 7400FH wall thickness measurement gauge
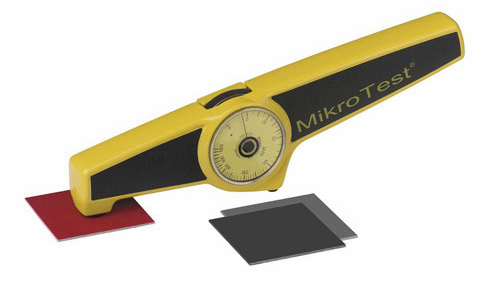 Mechanical coating thickness gauge: MikroTest
 SmartTest Smart Wireless Film Thickness Sensor
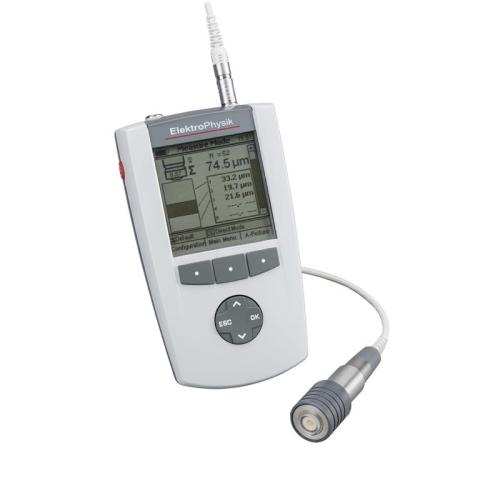 Multi-coat Ultrasonic Thickness Gauge QuintSonic
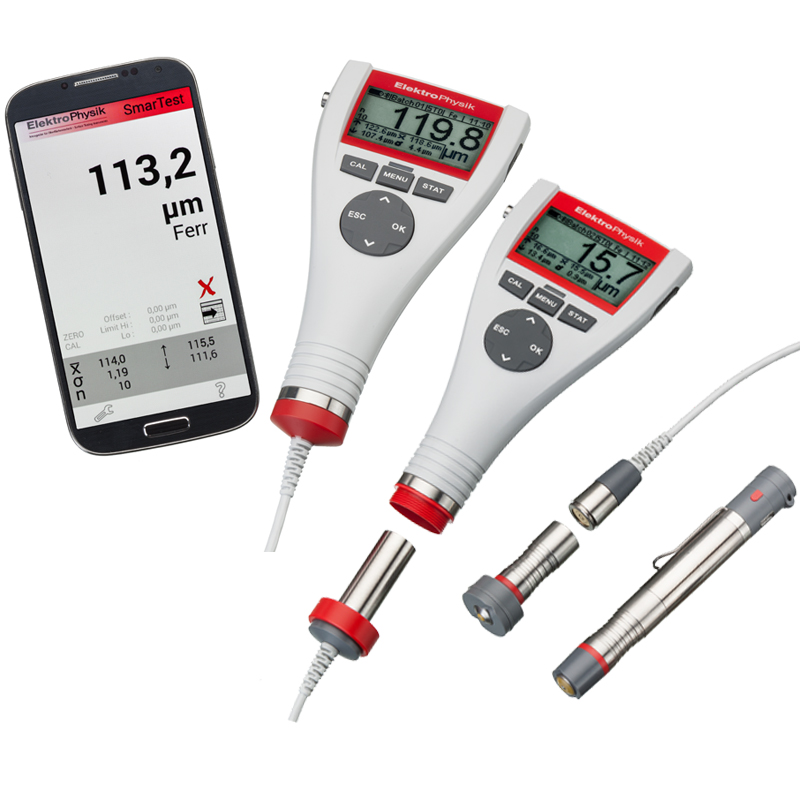 MiniTest 725/735/745 Digital Coating Thickness Gauge
311,Building 5,No.81,Meiyue Road,Waigaoqiao Free Trade Zone,Pudong,Shanghai,China
amy@labgages.com
021-50473900


About LAB | Cooperative Brand | Contact us | Sitemap

滬公網(wǎng)安備 31011502000213號(hào)

 滬ICP備12021537號(hào)-1
©2012-2024 LAB GAGES